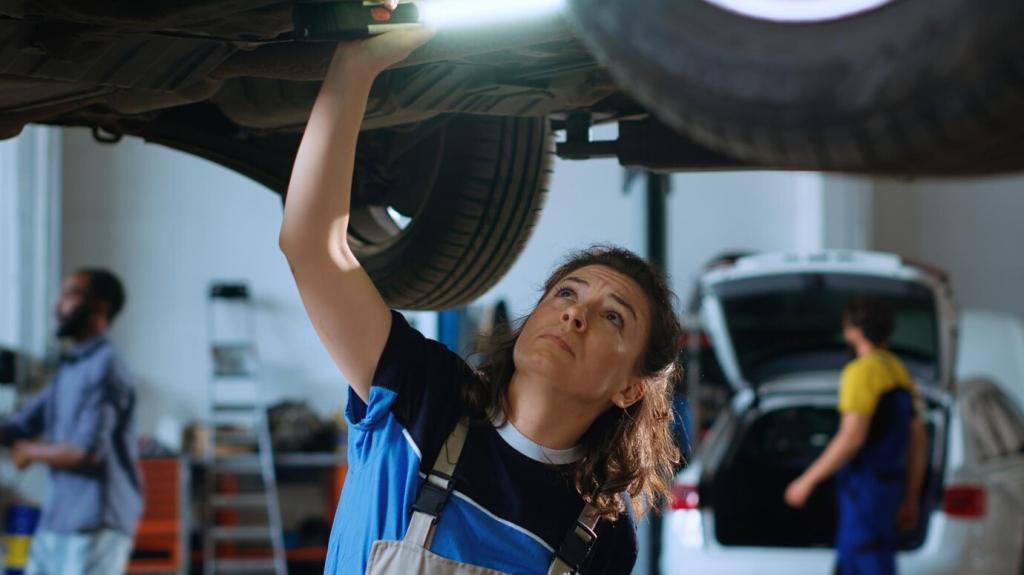

Know Your Brakes Before You Start
Disc brakes create friction when calipers squeeze pads against spinning rotors. Heat converts motion into stopping power. Knowing this helps you understand why pad surface, caliper movement, and even rotor condition all matter during your Simple Brake Pad Replacement Tutorial.
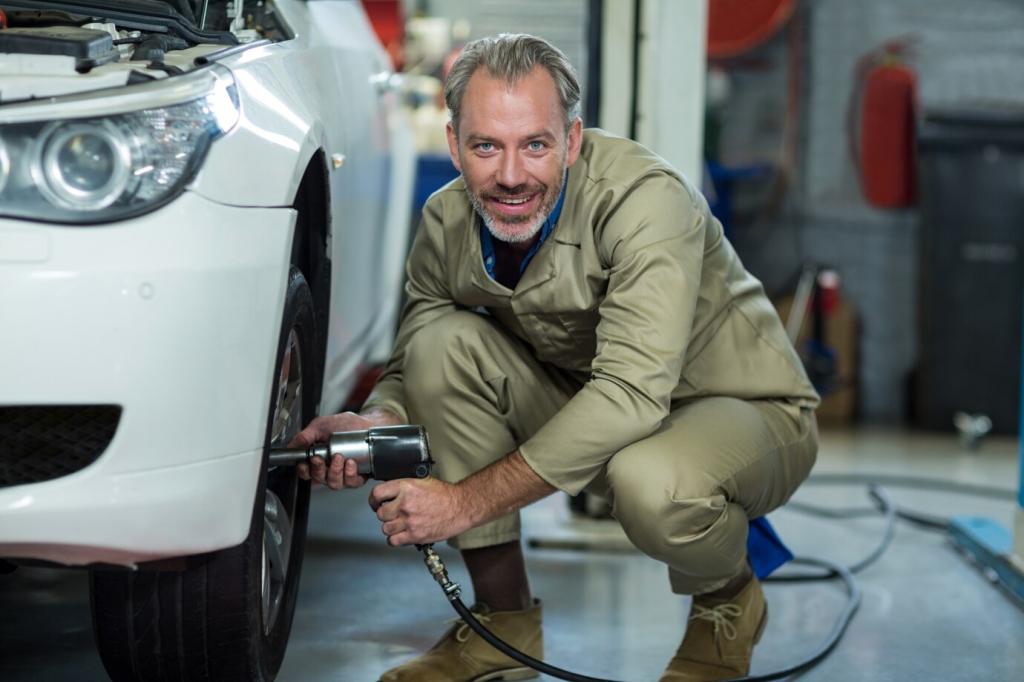
Know Your Brakes Before You Start
Tell-tale signs include a high-pitched squeal from wear indicators, a longer stopping distance, or a gritty grinding sound under braking. Visual inspection revealing thin friction material or uneven wear also signals it is time for this Simple Brake Pad Replacement Tutorial.